To build a gaming PC, start by choosing compatible, high-performance components like a CPU, GPU, motherboard, RAM, and power supply within your budget. Assemble the parts carefully, installing the CPU, RAM, and storage on the motherboard before mounting it in the case and connecting cables neatly. Next, install your operating system, update drivers, and perform stress tests to guarantee stability. Keep exploring each step to master building your ideal gaming setup and maximize performance.
Key Takeaways
- Choose compatible components based on your gaming needs, budget, and performance requirements.
- Assemble the hardware by installing the CPU, RAM, storage, and mounting the motherboard in the case.
- Connect all power and data cables neatly, ensuring proper cable management for airflow.
- Install the operating system and drivers, including motherboard and GPU updates, for optimal performance.
- Test the build with stress tests, monitor temperatures, and troubleshoot any issues before regular use.
PC Building Tool Kit 140-IN-1: Computer Tool Kit for Repair & Assembly, Precision Screwdriver Set with Magnetic Bits for Laptop, iPhone, MacBook, PS4/5, Xbox, Game Console (Blue)
【Multifunctional Repair Kit】This computer tool kit comes with 120 precision bits and 19 practical accessories, such as extension…
As an affiliate, we earn on qualifying purchases.
As an affiliate, we earn on qualifying purchases.
Choosing the Right Components
When selecting the components for your gaming PC, it’s essential to prioritize performance, compatibility, and your budget. Start by setting a clear budget, so you know what you can afford without overspending. Focus on choosing a CPU and GPU that match your gaming needs, ensuring they’re compatible with your motherboard. Check the motherboard’s socket type and supported RAM to avoid compatibility issues. Keep your power supply in mind—select one with enough wattage to support your chosen components. Avoid mixing incompatible parts, as this can cause headaches and unnecessary expenses. Additionally, understanding the potential risks of new payment technologies can help you stay informed about security concerns that might affect your online transactions. Being aware of home theatre projector options can also enhance your gaming setup by providing an immersive visual experience. Incorporating AI security technologies into your online activities can help safeguard your personal information from cyber threats. Conducting thorough research on component compatibility before purchasing can prevent costly mistakes and ensure your build runs smoothly. Being aware of storage options can also help you choose the right drives for faster load times and better performance. By balancing your budget considerations with component compatibility, you’ll build a solid foundation for a gaming PC that performs well and stays within your financial limits.

Newegg Motherboard CPU Memory Combo – PRO B550M-VC WiFi Bundle with Ryzen 5 5500 and T-Force Delta RGB 16GB (2 x 8GB) TF3D416G3200HC16FDC01
Supports Ryzen 5000 Series, 5000 G-Series, 4000 GSeries, and 3000 Series processors Supports AM4 socket 3rd Gen Ryzen…
As an affiliate, we earn on qualifying purchases.
As an affiliate, we earn on qualifying purchases.
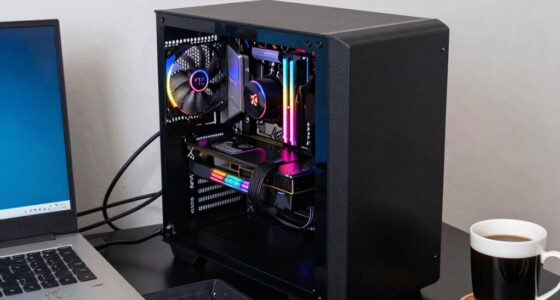
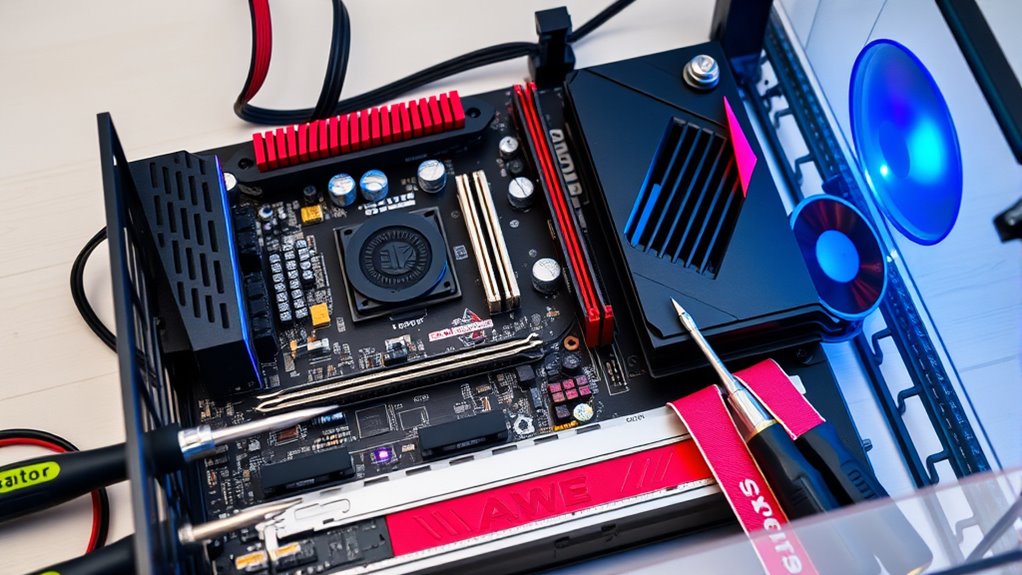
Assembling Your Gaming PC

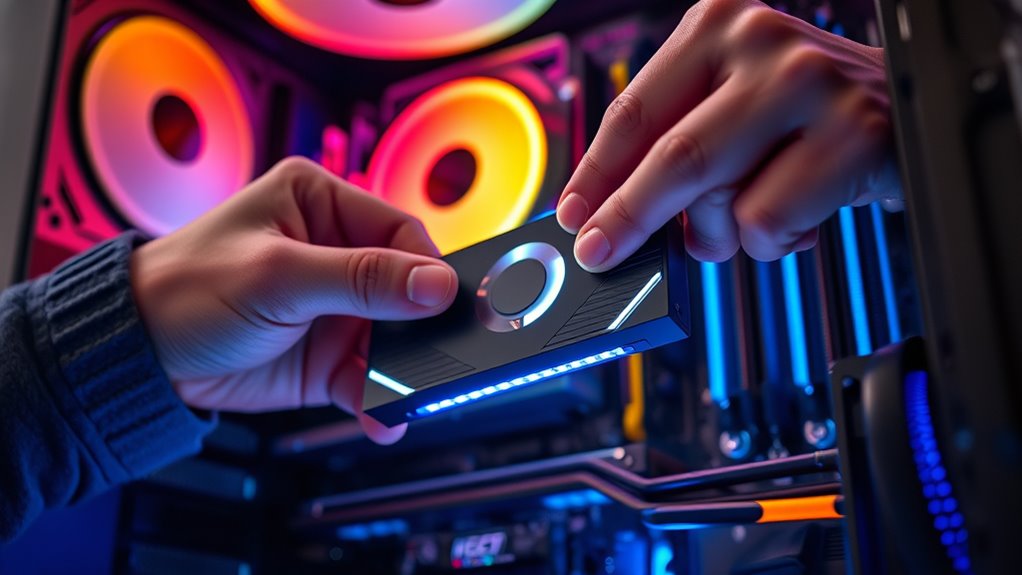
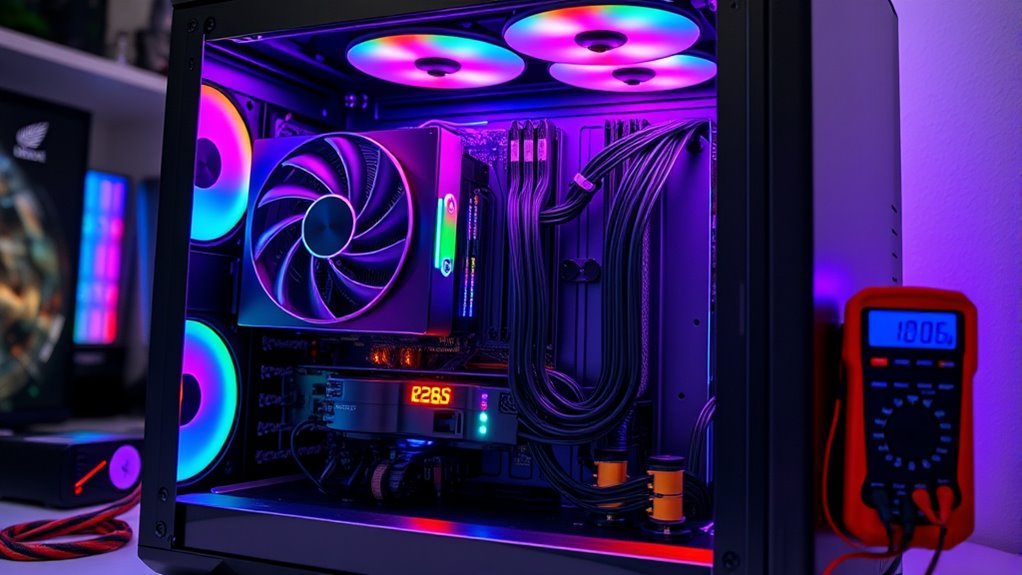
With your components selected and ready, it’s time to put everything together. Start by installing the CPU onto the motherboard, then secure the RAM and storage devices. Carefully mount the motherboard into the case, making sure all standoffs are in place. Connect the power supply cables, ensuring proper cable management to keep your build neat and improve airflow. As you connect the graphics card and other peripherals, focus on cable routing to hide clutter and enhance the look of your build. This is your chance for aesthetic customization—use cable sleeves or zip ties to achieve a clean, professional appearance. Proper cable management not only improves airflow but also makes future upgrades easier. Take your time, double-check connections, and enjoy the process of bringing your gaming PC to life. Remember to review your cable management to ensure optimal airflow and a tidy setup.

NZXT H5 Flow 2024 – Compact ATX Mid-Tower PC Gaming Case – High Airflow – 2 x 120mm Fans Included – 360mm Front & 240mm Top Radiator Support – Cable Management System – Tempered Glass – Black
EXCEPTIONAL GPU COOLING-The PSU shroud is perforated on the side and bottom, enabling optimal air intake from two…
As an affiliate, we earn on qualifying purchases.
As an affiliate, we earn on qualifying purchases.
Installing the Operating System and Drivers
Installing the operating system and drivers is a crucial step to guarantee your gaming PC runs smoothly and efficiently. Start by inserting the OS installation media and following on-screen prompts to set up your system. Once installed, you’ll need to install drivers for hardware compatibility and peak performance. Proper drivers ensure your hardware works seamlessly and software is optimized for gaming. Here’s a quick overview:
| Step | Action | Purpose |
|---|---|---|
| OS Installation | Boot from USB or DVD, follow prompts | Set up your operating system |
| Install Motherboard Drivers | Download from manufacturer website | Ensure hardware compatibility |
| Graphics Card Drivers | Download latest from GPU vendor | Maximize gaming performance |
| Windows Update | Run updates to patch system | Enhance security and stability |
| System Optimization | Adjust settings for best performance | Improve overall system responsiveness |
Additionally, understanding the importance of hardware compatibility can help prevent issues and ensure your components work well together. Paying attention to power supply capacity is also essential to support your gaming hardware reliably and avoid performance issues.
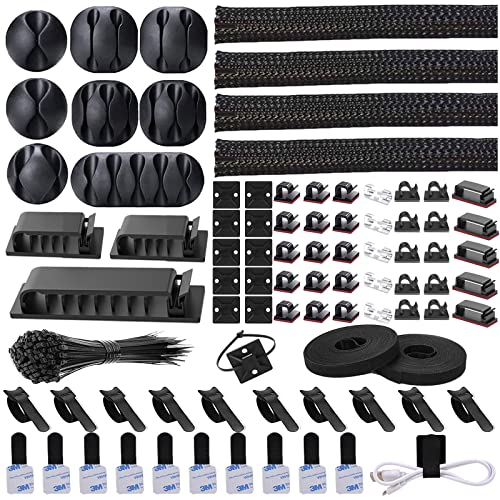
N NOROCME 192 PCS Cable Management Kit 4 Wire Organizer Sleeve,11 Cable Holder,35Cord Clips 10+2 Roll Cable Organizer Straps and 100 Fastening Cable Ties for Computer TV Under Desk, black,clear
Cable Management Kit: 4pcs Cable Sleeves( 20 in L x 0.4 in w), 20pcs reusable wire ties,35Cable Clips…
As an affiliate, we earn on qualifying purchases.
As an affiliate, we earn on qualifying purchases.
Testing and Troubleshooting Your Build
Before you start gaming, it’s essential to thoroughly test your build to make certain all components function correctly. Begin by checking overclocking stability if you’ve adjusted your CPU or GPU settings; run stress tests to ensure your system remains stable under load. Enter the BIOS configuration to verify that all hardware is recognized properly and that settings like RAM speed and voltage are correctly set. Watch for signs of instability, such as unexpected reboots or crashes. Use diagnostic tools to monitor temperatures and performance. If issues arise, revisit your BIOS settings or reseat components as needed. Proper testing helps identify problems early, ensuring your build runs smoothly and reliably before you delve into gaming adventures. Additionally, understanding hardware stability is crucial for maintaining a reliable gaming setup. Regularly updating your drivers and firmware can also help prevent performance issues and ensure compatibility with the latest games and software. Incorporating component compatibility checks during assembly can further reduce potential conflicts and improve overall system reliability. Moreover, paying attention to power supply quality is vital to support your components under load and prevent unexpected failures.
Upgrading and Maintaining Your Gaming PC

Regularly upgrading and maintaining your gaming PC guarantees it stays performing at its best. Keep an eye on overclocking performance by adjusting your CPU and GPU settings carefully, ensuring stability and better gaming experiences. Proper cable management not only looks cleaner but also improves airflow, helping your components stay cool and operate efficiently. Over time, dust buildup can hamper cooling; regularly clean your PC using compressed air to prevent overheating. Updating drivers and firmware also boosts stability and performance. Consider upgrading components like RAM or storage if you notice slowdowns. When overclocking, monitor temperatures and performance to avoid damage. Ensuring your case has adequate ventilation can further optimize airflow and cooling. Incorporating dust prevention measures can significantly extend your PC’s lifespan and maintain optimal performance. Additionally, understanding component compatibility can prevent potential issues during upgrades. Regularly monitoring sound waves and vibrations generated by your PC can help identify cooling issues early. Utilizing headphones can improve your gaming experience by providing immersive audio and noise isolation. Consistent maintenance and thoughtful upgrades help your gaming PC run smoothly, extend its lifespan, and deliver ideal gaming performance.
Frequently Asked Questions
How Do I Choose the Best Budget-Friendly Gaming Components?
You should focus on budget options like mid-range CPUs and GPUs, balancing performance and affordability. Check component comparisons online to find the best value for your money, paying attention to reviews and benchmarks. Prioritize essential components, such as the CPU, GPU, and RAM, and consider used or refurbished parts for savings. This approach helps you build a capable gaming PC without overspending, ensuring you get the best bang for your buck.
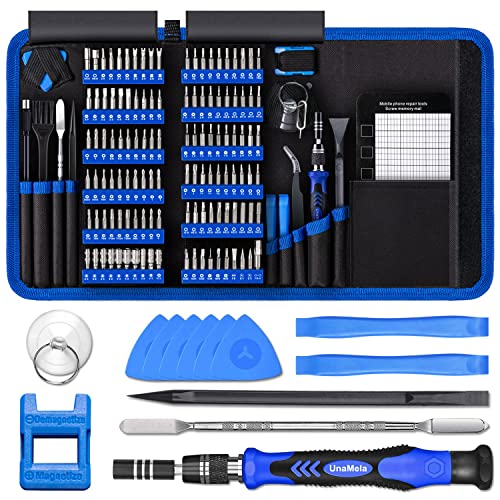
What Tools Are Essential for Building a Gaming PC?
You need a Phillips-head screwdriver for assembling your gaming PC, along with cable ties for proper cable management. A small flat-head screwdriver is useful for thermal paste application on the CPU. Keep a clean workspace, and consider an anti-static wrist strap to prevent static damage. These tools help guarantee neat cable management and proper thermal paste application, which are vital for ideal airflow and cooling, preventing overheating during gaming sessions.
How Can I Ensure Proper Airflow Inside My Case?
To guarantee proper airflow inside your case, focus on good cable management and strategic fan placement. Keep cables tidy and out of airflow pathways to prevent obstructions, which improves cooling efficiency. Position intake fans at the front and bottom, while exhaust fans should go at the top and rear. This setup promotes ideal airflow, helping your components stay cool and perform well during gaming sessions.
What Are Common Signs of Compatibility Issues?
If you notice your system crashing or unexpected BIOS errors, these are common signs of compatibility issues. Hardware conflicts often cause system freezes or failure to boot, indicating incompatible components. You might also see error messages during startup or experience performance drops. Always double-check your motherboard’s supported hardware and confirm all drivers are up to date. Addressing these signs early helps prevent more serious problems down the line.
How Often Should I Clean and Maintain My Gaming PC?
You should clean and maintain your gaming PC every 3 to 6 months to prevent dust buildup, which can cause overheating and performance issues. Regularly check for dust in fans, vents, and filters, and use compressed air to clean the interior gently. Keeping your PC dust-free guarantees ideal airflow, cooling, and longevity, so sticking to this cleaning frequency helps maintain peak performance and avoid costly repairs down the line.
Conclusion
Building your gaming PC might seem intimidating, but it’s a rewarding journey where every component fits like a puzzle piece. Just like life, your PC thrives on careful choices and attention to detail. Remember, sometimes the smallest upgrade or tweak can make the biggest difference. Keep learning, stay patient, and enjoy the process—because in building your dream machine, you’re also crafting a future filled with endless adventures. Sometimes, the right connection makes all the difference.