
To calibrate your TV for the best picture, start by resetting it to factory settings. Use test patterns or calibration discs to adjust brightness, contrast, and color temperature for natural tones and vibrant images. Fine-tune backlight levels and color saturation carefully. Keep lighting and environment in mind for consistent results. Regularly verify and adjust settings so your display stays at its best—if you want to learn the full process, there’s more to explore here.
Key Takeaways
- Use test patterns and calibration discs to adjust contrast, brightness, color temperature, and sharpness accurately.
- Reset your TV to factory settings before recalibrating to ensure a clean starting point.
- Employ measurement tools like colorimeters or spectroradiometers for precise color and contrast calibration.
- Fine-tune picture settings in a dim, glare-free environment to achieve optimal image quality.
- Save your custom calibration settings and periodically verify to maintain consistent, high-quality picture performance.
Understanding Your TV’s Picture Settings
Understanding your TV’s picture settings is vital for getting the best viewing experience. Different display technologies, like LCD, OLED, or QLED, each have unique ways they handle images, influencing picture quality. Knowing how these technologies affect brightness, contrast, and color helps you make informed adjustments. Additionally, viewing angles play an essential role; some screens may lose color accuracy or contrast when viewed from the side. By understanding your TV’s settings, you can tweak picture mode, brightness, and color to suit your environment and preferences. Familiarize yourself with menus such as contrast, sharpness, and color temperature, so you can optimize your display without compromising image quality. This foundational knowledge ensures you get the most out of your TV’s capabilities. Being aware of display technology differences can further help you fine-tune your picture settings for optimal results, especially when selecting the right calibration tools to enhance your viewing experience. Understanding the vibrational energy of your environment can also influence how you perceive and enjoy your display, creating a more immersive experience.
Gathering the Necessary Calibration Tools
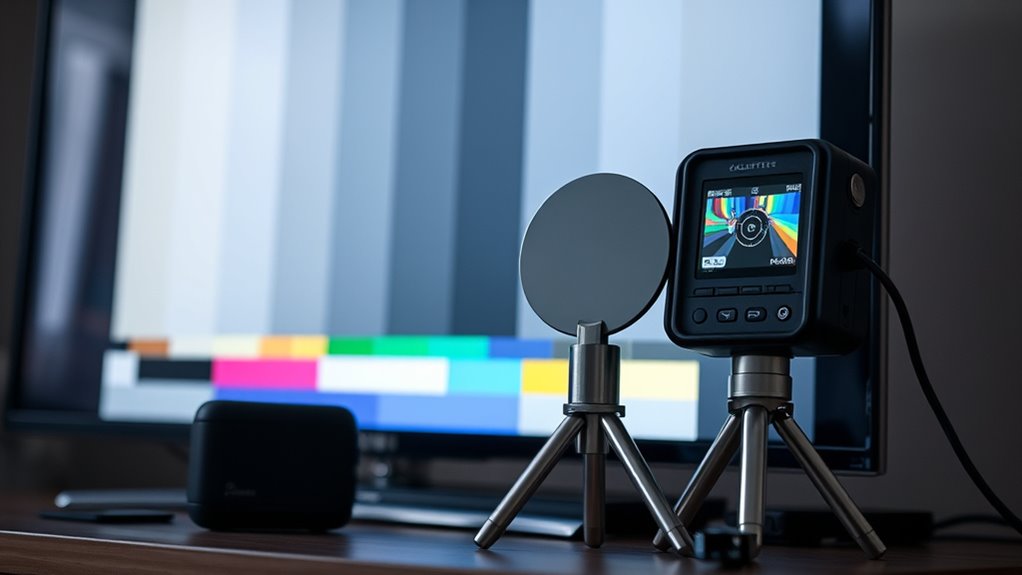
To get started, you’ll need specific calibration tools like a colorimeter or a spectrophotometer. These essential measurement devices help guarantee your settings are accurate and consistent. Make sure your setup environment is free of glare and properly lit for the best calibration results. Additionally, understanding proper calibration procedures can help you achieve optimal picture quality. Familiarizing yourself with calibration standards ensures your adjustments align with industry benchmarks for the best viewing experience.
Calibration Tools Needed
Gathering the right calibration tools is essential for achieving the best picture quality on your TV. You’ll need your remote controls to access your TV’s picture settings and navigate calibration menus easily. Calibration software can be useful if you’re working with a computer or using a calibration disc that includes software to guide your adjustments. While specialized hardware isn’t required for basic calibration, having access to a colorimeter or similar measurement device** will enhance your results, though these are typically discussed in the next section. Such devices help you measure and adjust your display’s color accuracy more precisely. For now, verify your remote controls are functional and that you have any calibration software or discs ready. These tools form the foundation for accurate adjustments, guiding you toward a picture that looks vibrant and natural. Incorporating professional calibration techniques can further refine your image quality for a truly cinematic experience. Additionally, understanding how AI-driven security systems operate can help you protect your calibration data from unauthorized access. Using accurate measurement tools** can also help ensure consistency over time and account for any display drift.
Essential Measurement Devices
Once you’ve gathered your remote controls and calibration software, the next step is to make certain you have the right measurement devices. For effective screen calibration, you’ll need a quality colorimeter or spectroradiometer to accurately measure colors, contrast, and brightness levels. These devices guarantee your TV’s display is correctly calibrated for ideal picture quality. Additionally, a sound level meter can help with sound optimization by measuring audio levels and ensuring balanced sound. While calibration software guides the process, these measurement tools provide precise data to fine-tune your TV’s picture and audio settings. Investing in reliable measurement devices ensures your calibration is accurate, giving you the best possible viewing experience with sharp images and clear sound. Proper calibration can significantly enhance your image quality, viewing environment, and overall satisfaction. Incorporating lifestyle considerations such as a comfortable, organized space can also improve your overall calibration process and viewing environment. Furthermore, using a colorimeter helps monitor how well your TV renders true-to-life colors, ensuring you achieve the optimal viewing experience. Regularly checking the contrast and brightness levels with these tools can help maintain the calibration over time.
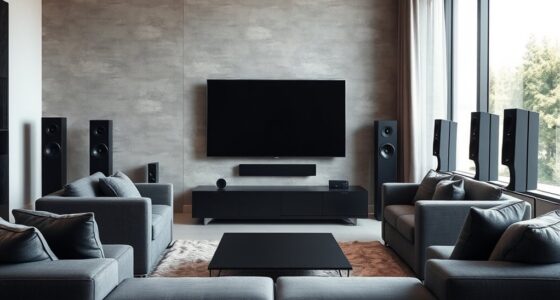
Proper Setup Environment
Creating the right setup environment is essential for accurate TV calibration. Proper room lighting minimizes glare and reflections, ensuring you see true colors and contrast. Adjust speaker placement beforehand to optimize sound quality, which impacts your viewing experience. Before starting, gather these calibration tools:
- Light meter or smartphone app for measuring room lighting
- Sound level meter for speaker calibration
- Calibration discs or test patterns
- A comfortable, neutral-colored wall backdrop
- A remote control with menu access for adjustments
Ensure the room lighting is dim but not completely dark, and position speakers at ear level, facing toward your seating area. This creates an ideal environment for precise calibration, helping you achieve the best picture quality possible. Additionally, understanding how sound vibrations influence cellular regeneration can enhance your appreciation of sound’s role in your overall viewing environment. Paying attention to environmental factors like room acoustics and lighting conditions further ensures optimal calibration results. Incorporating proper calibration techniques can significantly improve the accuracy of your picture settings and overall viewing experience. Moreover, considering crochet styles for locs can inspire creative ways to personalize your space or accessories related to your entertainment setup.
Resetting Your TV to Factory Defaults
If your TV isn’t functioning properly or you’re experiencing persistent issues, resetting it to factory defaults can often resolve the problem. Performing a factory reset restores your TV to its original default settings, erasing any custom adjustments or calibrations you’ve made. This process is helpful if settings have become misconfigured or if software glitches occur. To initiate a factory reset, navigate to your TV’s settings menu, find the reset or restore option, and select it. Confirm when prompted. Remember, this action will erase all personalized settings, so you’ll need to reconfigure your preferences afterward. Resetting to default settings ensures your TV starts fresh, providing a clean slate to begin recalibrating for best picture quality.
Adjusting Brightness and Contrast for Optimal Clarity
To get the best picture, you need to fine-tune your brightness levels so dark scenes aren’t too washed out or too black. Properly setting the brightness ensures that shadow details are visible without losing the depth of dark scenes. Incorporating professional calibration techniques can further enhance your viewing experience by ensuring your settings are optimized for your specific display. Additionally, understanding the Gold IRA Rollovers process can serve as a reminder to cherish the clarity and harmony in your own personal “viewing experience” at home. Using a high-quality calibration tool can help achieve more precise adjustments tailored to your TV’s capabilities.
Fine-tuning Brightness Levels
Adjusting the brightness and contrast settings on your TV is essential for achieving a clear and vibrant picture. Fine-tuning brightness levels ensures that dark scenes display detail without losing depth, especially during screen calibration. Your viewing environment influences how bright your picture appears; a dim room may require lower brightness, while a bright room calls for higher settings. To get it just right:
- Use a standard test pattern for accurate calibration.
- Adjust brightness until black areas appear deep but not crushed.
- Keep contrast balanced to prevent loss of detail in whites and blacks.
- Consider your ambient light when setting levels.
- Review the picture in your typical viewing environment for ideal results.
This approach helps you avoid washed-out images or overly dark scenes, enhancing overall picture clarity.
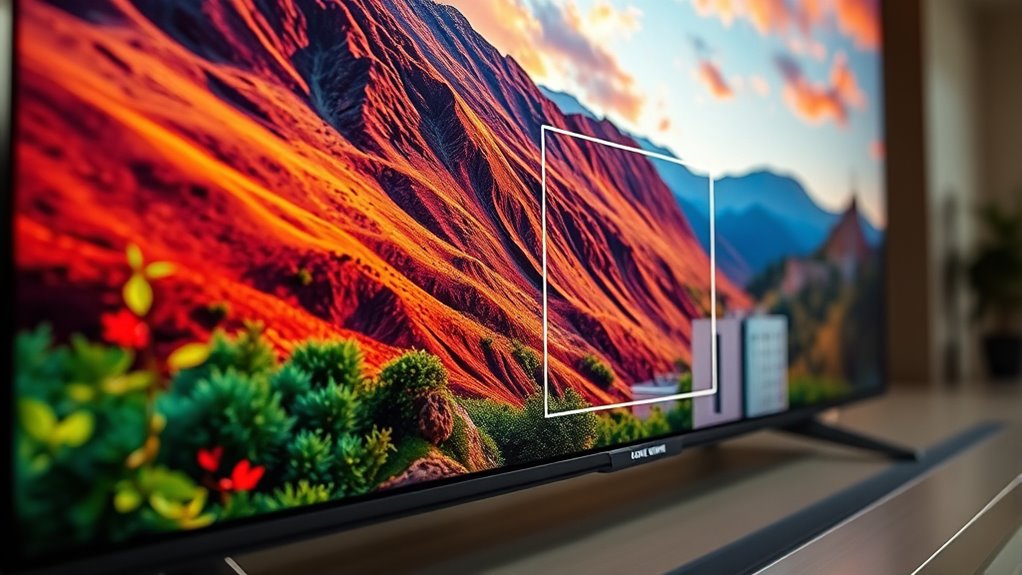
Optimizing Contrast Settings
Optimizing contrast settings is essential for achieving a clear and dynamic picture on your TV. Proper contrast enhances color accuracy and ensures images look natural from different viewing angles. To do this, adjust your contrast so bright areas are vivid without losing detail, and dark areas stay deep without becoming muddy. Use a test pattern or a familiar scene to fine-tune these settings. Keep in mind, overly high contrast can cause color distortion or wash out details. Here’s a quick reference:
| Setting | Description | Tip |
|---|---|---|
| Brightness | Controls black level and shadow detail | Adjust for true blacks without crushing detail |
| Contrast | Affects overall image brightness and vividness | Find balance for vibrant yet natural colors |
| Viewing Angles | Impact how contrast and color shift at angles | Minimize angle when calibrating for consistency |
This ensures your picture remains sharp and true to life.
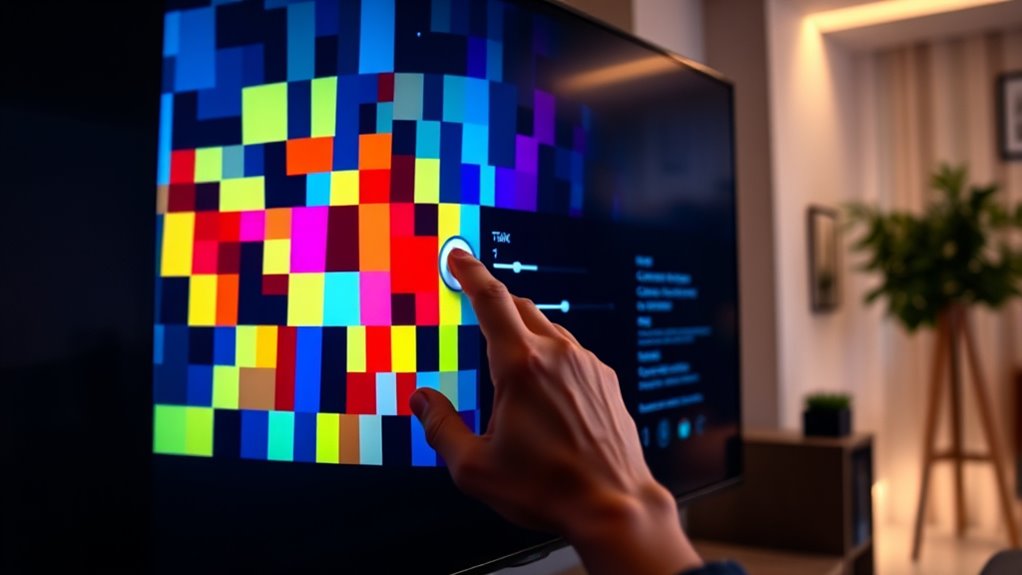
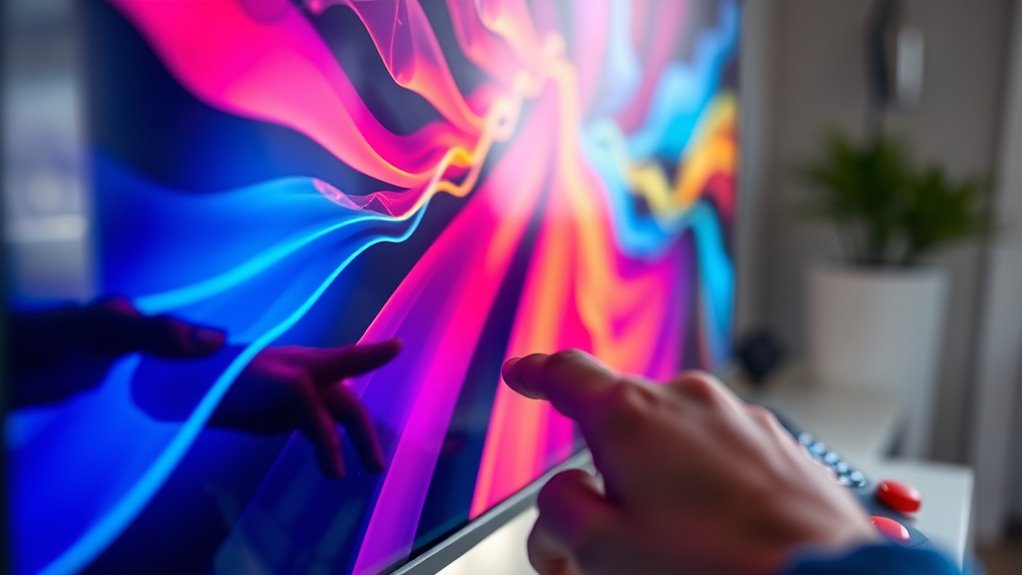
Fine-tuning Color Settings for Vividness and Accuracy

Fine-tuning your TV’s color settings is essential to achieve a balance between vividness and accuracy, ensuring images look both stunning and true to life. Proper adjustments improve color accuracy and enhance vividness without oversaturation. To get started, focus on these key points:
Fine-tune your TV’s color settings for natural, vibrant images with accurate and balanced colors.
- Adjust the color temperature to a neutral setting for natural tones
- Use a test pattern to calibrate red, green, and blue balance
- Increase saturation carefully to boost vividness enhancement without losing realism
- Fine-tune the tint to correct color shifts
- Regularly review with a color calibration disc to maintain ideal color accuracy
Calibrating Sharpness to Enhance Detail
Adjusting your sharpness settings can make details pop and improve picture clarity. Be careful not to over-sharpen, as it creates unwanted halos and noise. Finding the right balance helps you enjoy crisp, natural images without artifacts.
Adjust Sharpness Levels
To enhance the detail and clarity of your picture, setting the sharpness level correctly is essential. Proper adjustment guarantees images look crisp without introducing artificial edges. Too high a setting can cause halo effects, while too low may result in dull images. When calibrating, consider how sharpness impacts motion smoothing and sound calibration, as these affect overall viewing quality.
- Use test patterns to find the balance between sharpness and natural detail
- Avoid over-sharpening, which can create unwanted artifacts
- Adjust sharpness gradually, checking for halos around objects
- Remember that high sharpness can distort motion smoothing, making fast scenes unnatural
- Regularly review your settings for consistency across different content types
Fine-tuning sharpness enhances picture detail while maintaining a natural look, ensuring ideal viewing experiences.
Recognize Over-Sharpening Effects
When you increase the sharpness setting beyond an ideal level, it becomes immediately noticeable through unnatural edges and visual artifacts. You may see exaggerated contours around objects, which is a result of aggressive edge enhancement. Over-sharpening can also introduce digital artifacts—unwanted patterns or noise that degrade image quality. These effects make the picture look less natural and more artificial. To recognize over-sharpening, look for overly defined outlines and unnatural halos around objects. If you notice these signs, dial back the sharpness setting until edges appear crisp but still realistic. Avoid the temptation to push sharpness too high, as it often harms picture quality more than it helps. Proper calibration guarantees clarity without sacrificing natural detail.
Setting the Proper Backlight Levels
Setting the proper backlight levels is key to achieving a balanced and vibrant picture on your TV. Proper backlight adjustment enhances contrast and detail without sacrificing panel uniformity. To find the right level:
- Increase the backlight until bright scenes appear vivid without washing out blacks
- Decrease it if you notice uneven lighting or panel uniformity issues
- Use test patterns to check for consistent brightness across the screen
- Adjust gradually, observing how dark scenes respond
- Avoid setting it too high, which can cause eye strain and unnecessary power use
Balancing backlight levels ensures your TV displays accurate contrast and prevents hotspots. This step is vital for a natural-looking picture, especially in well-lit rooms, without compromising the overall picture quality.
Managing Color Temperature for Natural Tones

Managing color temperature is essential for achieving realistic and pleasing images on your TV. Adjusting the color temperature affects how warm or cool the picture appears, directly influencing natural tones. A properly calibrated setting will produce images that resemble real-life colors, avoiding overly blue or orange hues. To manage this, use your TV’s picture settings menu, often labeled as “Color Temperature” or “White Balance.” Start with a neutral setting like “Standard” or “Warm,” then fine-tune based on your viewing environment and personal preference. The goal is to create a balanced image where skin tones and natural elements look authentic. Remember, subtle adjustments can make a significant difference in how natural and comfortable the picture feels.
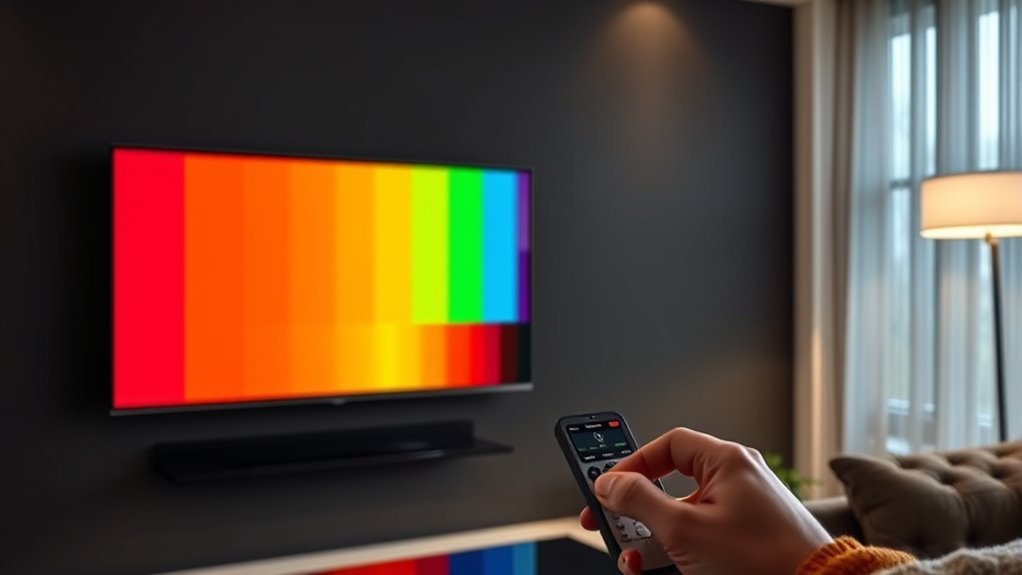
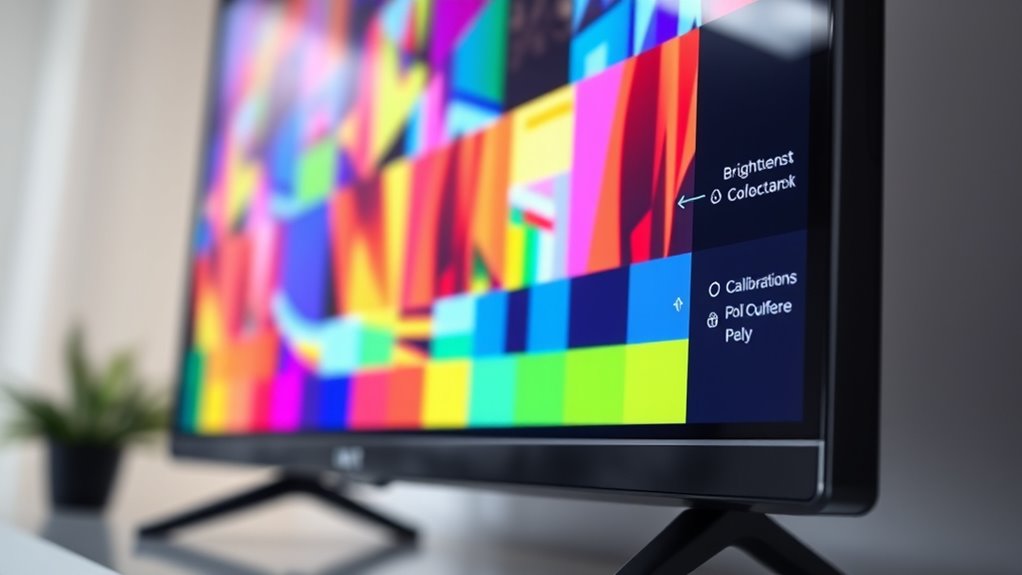
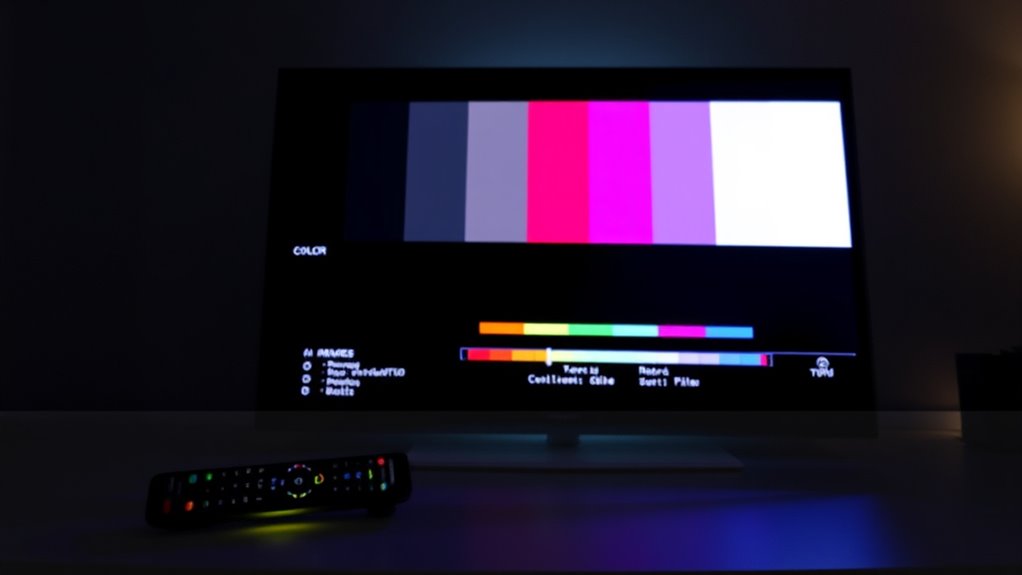
Using Test Patterns and Calibration Discs
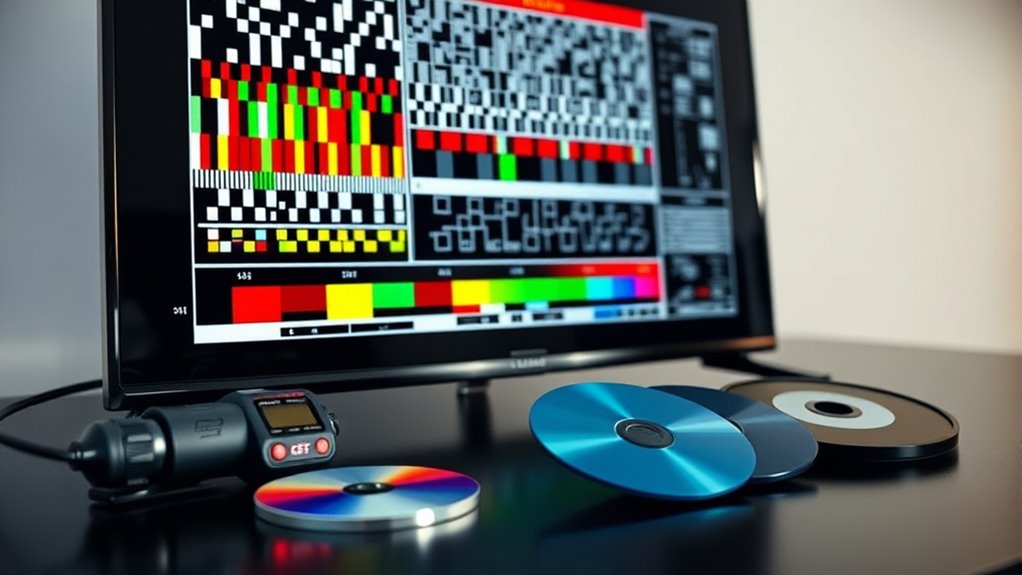
Using test patterns and calibration discs is one of the most effective ways to fine-tune your TV’s picture quality. These tools help you precisely adjust settings like contrast, brightness, and sharpness. When selecting a calibration disc, choose one with a variety of test patterns designed for different adjustments. Test pattern usage allows you to identify issues such as color inaccuracies or poor black levels. Consider these tips for ideal results:
- Pick a calibration disc compatible with your TV model
- Focus on patterns that test contrast and grayscale
- Use test patterns to verify color accuracy
- Adjust settings while observing how patterns change
- Repeat tests to ensure consistency and accuracy
Proper calibration disc selection and test pattern usage enable you to achieve the best picture quality possible.
Saving Your Custom Settings and Performing Final Checks

Once you’ve finished calibrating your TV, it’s vital to save your custom settings to guarantee they stay in place for future viewing. Use your remote controls to access the menu and select the save option, so your adjustments aren’t lost. Before finalizing, perform a quick check from different viewing angles to confirm the picture quality remains consistent, especially if your seating isn’t directly in front of the screen. Adjust your settings if necessary, making sure brightness, contrast, and color look good from multiple spots. Saving your settings now prevents the need for recalibration later and assures you enjoy excellent picture quality every time you turn on your TV. Final checks with your remote control help confirm everything is set correctly.
Frequently Asked Questions
How Often Should I Recalibrate My TV for Optimal Picture Quality?
You should recalibrate your TV at least once a year to maintain ideal picture quality. Regular maintenance tips include checking for dust and ensuring your calibration tools stay accurate. If you notice color fading, brightness issues, or image distortion, it’s time for a recalibration. Using reliable calibration tools helps you fine-tune your display effectively, ensuring you enjoy the best viewing experience without sacrificing picture clarity over time.
Can Calibration Settings Be Different for HDR and SDR Content?
Your calibration settings are like a tailored suit—different for HDR and SDR content. HDR calibration emphasizes brightness, color, and contrast to handle high dynamic range, while SDR settings focus on standard picture quality. You need to adjust each mode separately, ensuring ideal viewing for both. Keep in mind, switching between these modes without recalibrating can make images look dull or oversaturated, so fine-tuning for each is essential.
Is Professional Calibration Worth the Cost Compared to DIY Methods?
Professional calibration can be worth the cost if you want the best picture quality, especially with complex settings like HDR and SDR. While DIY tools are affordable and help improve your display, they might not achieve the precision a pro offers. Consider the cost comparison: investing in a professional calibration ensures ideal color accuracy and contrast, making it a worthwhile expense if you’re serious about your viewing experience.
How Do Ambient Lighting Conditions Affect Calibration Adjustments?
Ambient lighting conditions are like the weather for your viewing environment, constantly changing and affecting how you perceive colors and contrast. Bright ambient light can wash out details, prompting you to adjust your TV’s settings for higher contrast and brightness. Conversely, darker rooms enhance blacks and color richness. Keep your ambient light consistent or adjust your calibration accordingly, ensuring your viewing environment always complements your picture quality for the best experience.
Are There Specific Calibration Settings for Gaming Versus Movie Viewing?
Yes, you should adjust your TV’s settings based on your activity. For gaming, enable gaming mode to reduce input lag and improve responsiveness, while focusing on color accuracy for more vibrant visuals. For movie viewing, turn off gaming mode and tweak contrast, brightness, and color settings to enhance image quality and achieve a cinematic look. Customizing these settings guarantees the best picture quality tailored to your entertainment needs.
Conclusion
Calibrating your TV can dramatically improve your viewing experience, and it’s worth the effort. Did you know that improper calibration can reduce picture quality by up to 20%? By following these steps, you’ll enjoy sharper images, more accurate colors, and vibrant details. Take your time, use test patterns, and save your settings. With just a little effort, you’ll see your favorite movies and shows in a whole new light—literally!