
Start by evaluating your space, measuring the room size, and planning your furniture layout for comfort and ideal viewing angles. Choose a high-quality display like a 4K projector or TV, and select speakers and an amplifier for immersive sound. Organize cables and connect equipment securely, then calibrate your system for picture and sound quality. Add soft furnishings and adjustable lighting to create the perfect ambiance. Keep exploring details to build a professional home theater experience.
Key Takeaways
- Plan room layout, considering optimal furniture placement, acoustics, and lighting for comfort and sound quality.
- Select and position display equipment (TV or projector) at eye level and calibrate for best picture clarity.
- Set up and connect audio components, ensuring balanced speaker placement and proper calibration for immersive sound.
- Organize cables securely, verify device compatibility, and optimize connections for high-quality audio-visual performance.
- Enhance environment with soft furnishings, dimmable lighting, and soundproofing to create an immersive home theater experience.
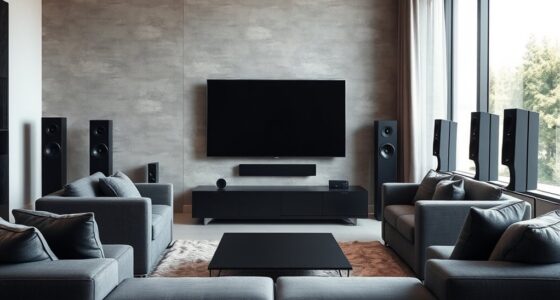
Assessing Your Space and Planning Your Layout
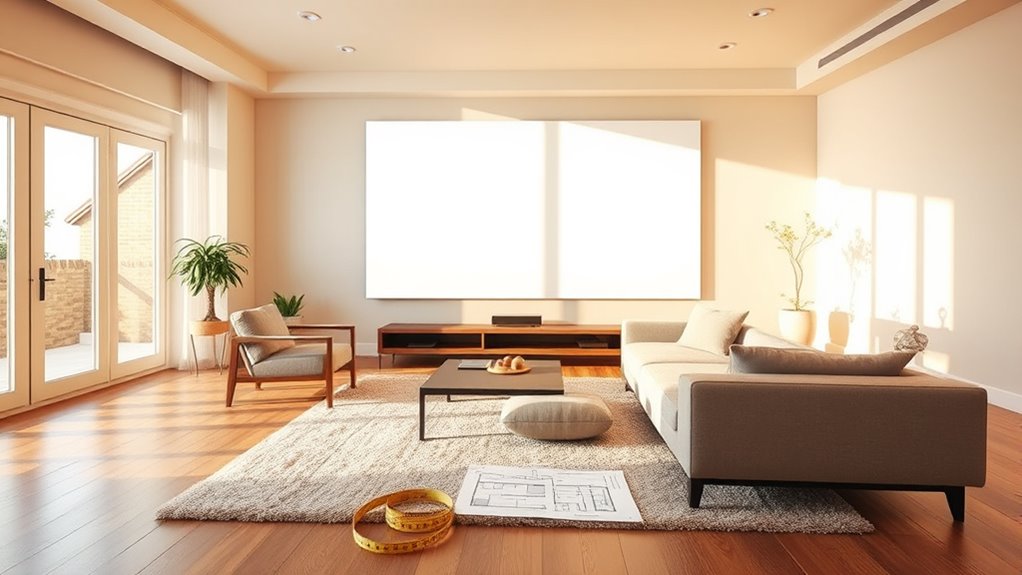
Before you start setting up your home theater, it’s essential to evaluate your space carefully. Start by considering the furniture arrangement; ensure seats are positioned for optimal viewing angles and comfort. Think about how your seating impacts room acoustics—arranging furniture to minimize sound reflections and echoes helps create clearer audio. Measure the room to understand its dimensions and identify potential obstacles that could block views or disrupt sound quality. Keep in mind that the placement of furniture influences not just comfort but also sound distribution. If your room has hard surfaces like tile or glass, consider adding soft furnishings or rugs to improve acoustics. Using acoustic treatments can further enhance sound quality by reducing unwanted reflections. Planning your layout thoughtfully now makes installing equipment and enjoying your home theater much smoother later. Additionally, understanding room acoustics can help you optimize sound performance for a more immersive experience. Paying attention to room dimensions can guide you in selecting suitable speakers and equipment placement for the best audio experience. Incorporating soundproofing techniques can also help prevent sound from disturbing other areas of your home. To maximize your setup’s effectiveness, consider implementing space optimization strategies to make the most of your available area.
Choosing the Right Screen or Projector
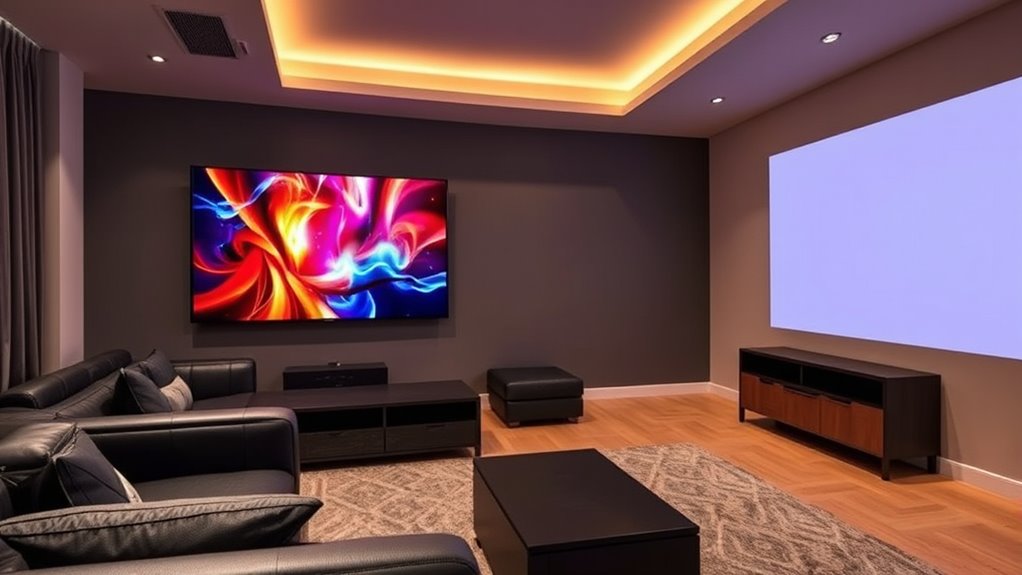
Selecting the right screen or projector is essential to creating an immersive home theater experience. Your choice of screen size impacts how fully you feel immersed in the content, so measure your space carefully. Larger screens provide more cinematic visuals but require a bigger room and proper viewing distance. When choosing a projector, pay close attention to resolution; a higher projector resolution, like 4K, ensures sharp, vibrant images, especially on larger screens. Keep in mind that the projector’s brightness and throw distance also influence image quality and setup flexibility. A well-chosen screen or projector tailored to your room size and viewing preferences will deliver crisp visuals and enhance your overall home theater experience. Incorporating the right screen materials can also improve image clarity and contrast, elevating your viewing enjoyment. Additionally, considering the contrast ratio of your projector can significantly impact the depth and realism of your image. Proper calibration and ambient lighting considerations further enhance picture quality in your setup, and choosing the right lens type can improve focus and image sharpness.
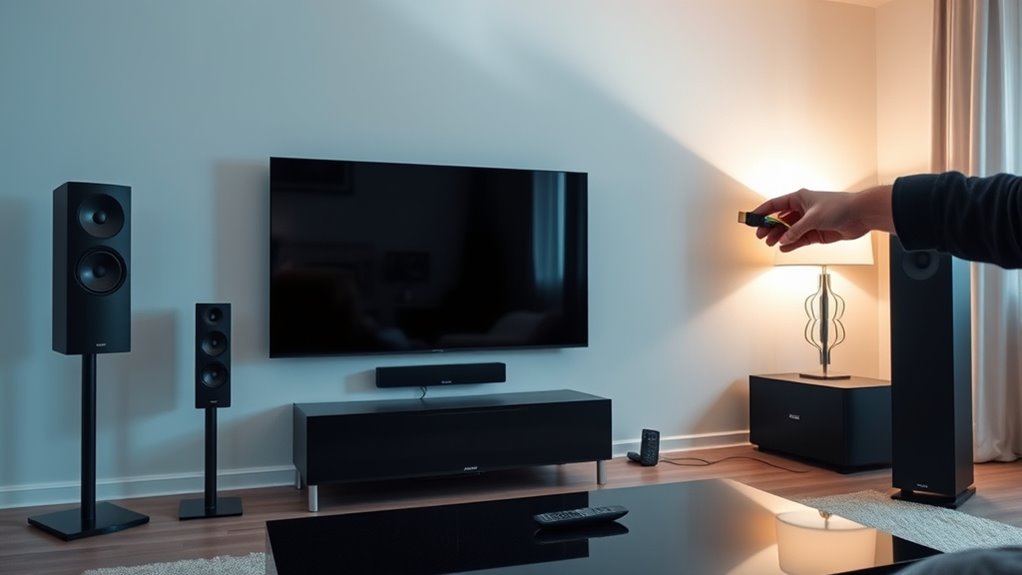
Selecting Audio Equipment for Immersive Sound
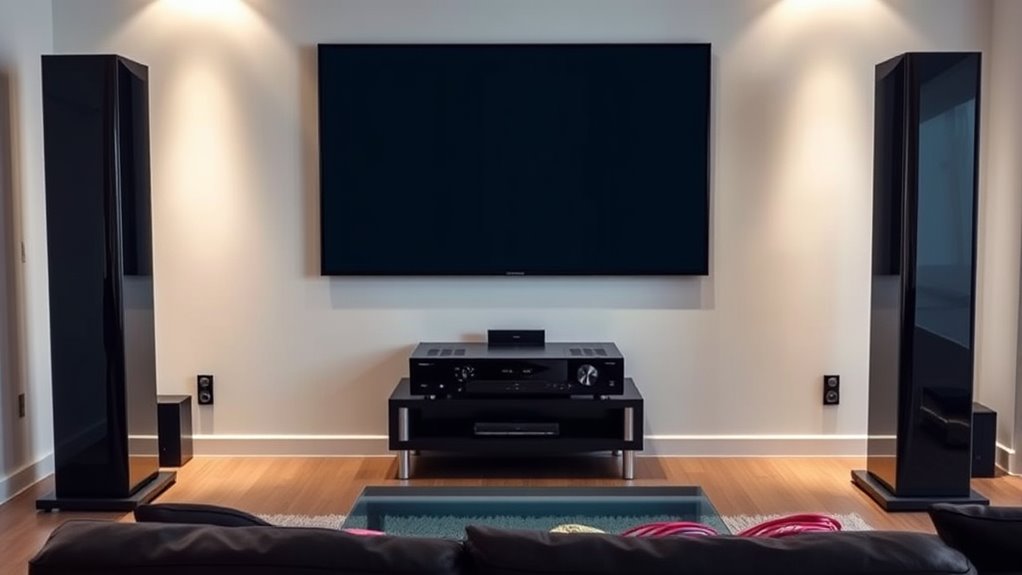
To create truly immersive sound in your home theater, choosing the right audio equipment is essential. Proper speaker placement ensures sound reaches you from all directions, enhancing the experience. Consider positioning your speakers at ear level and evenly spaced around the room for balanced audio. Use sound absorption materials, like acoustic panels or rugs, to reduce echo and improve clarity. Keep these tips in mind:
- Place speakers at ear level and angled toward your seating
- Maintain symmetry for balanced sound distribution
- Use sound absorption to minimize unwanted reflections
- Invest in a quality receiver to power your setup effectively
- Select appropriate audio equipment designed for home theater systems to optimize sound quality. Additionally, understanding room acoustics can significantly improve your setup’s performance by addressing how sound behaves within your space.
Picking Out the Necessary Hardware and Accessories

Now that you’ve selected your audio equipment, it’s time to choose the essential hardware and accessories. You’ll need to pick out the right display options and make certain you have all the necessary cables and connectors. Getting these components right will ensure your home theater functions smoothly and delivers a great viewing experience. Additionally, selecting appropriate placement for your devices can help optimize performance and reduce issues like noise or ineffective operation.
Essential Audio Components
Choosing the right audio components is crucial for creating an immersive home theater experience. To achieve realistic surround sound, focus on selecting quality speakers and amplifiers. Proper speaker placement enhances audio clarity and depth, making dialogue and effects more engaging. When setting up, consider these essential components:
- Center channel speaker for clear dialogue
- Surround sound speakers for immersive environment
- A powerful AV receiver to connect everything
- Subwoofer for deep bass and rumble
Position your surround sound speakers at ear level, slightly behind or to the sides of your seating area. This setup ensures balanced sound distribution and enhances the overall experience. Investing in good audio components and thoughtful speaker placement can significantly improve sound quality and immersion. Additionally, paying attention to speaker placement can significantly improve sound quality and immersion, especially when integrating advanced technologies like HEPA filters for air quality, which also contribute to a comfortable viewing environment.
Display Options Selection
Selecting the right display options is essential for bringing your home theater to life. Your screen size greatly impacts your viewing experience; larger screens create immersive visuals, but verify your room can accommodate them comfortably. Consider the ideal viewing distance—preferably, you should sit about 1.5 to 2.5 times the screen size away. Display resolution also matters; higher resolutions like 4K provide sharper, more detailed images, enhancing your overall experience. If your budget allows, choose a display with at least 1080p resolution, but 4K is preferable for future-proofing. Keep in mind that a bigger screen with a lower resolution can look worse than a smaller screen with a higher resolution. Balance screen size and resolution to match your room size, budget, and viewing preferences. Additionally, selecting a display with ultra-short-throw projectors or high-quality ALR screens can significantly improve image clarity and brightness in well-lit rooms. When considering your display options, look for display technology advancements that offer better contrast and color accuracy for a more vibrant viewing experience. Upgrading to the latest video processing features can also enhance image quality and reduce artifacts. Exploring adaptive brightness technology can further optimize your viewing experience in various lighting conditions. Furthermore, considering smart display features can add convenience and enhance your overall home theater setup.
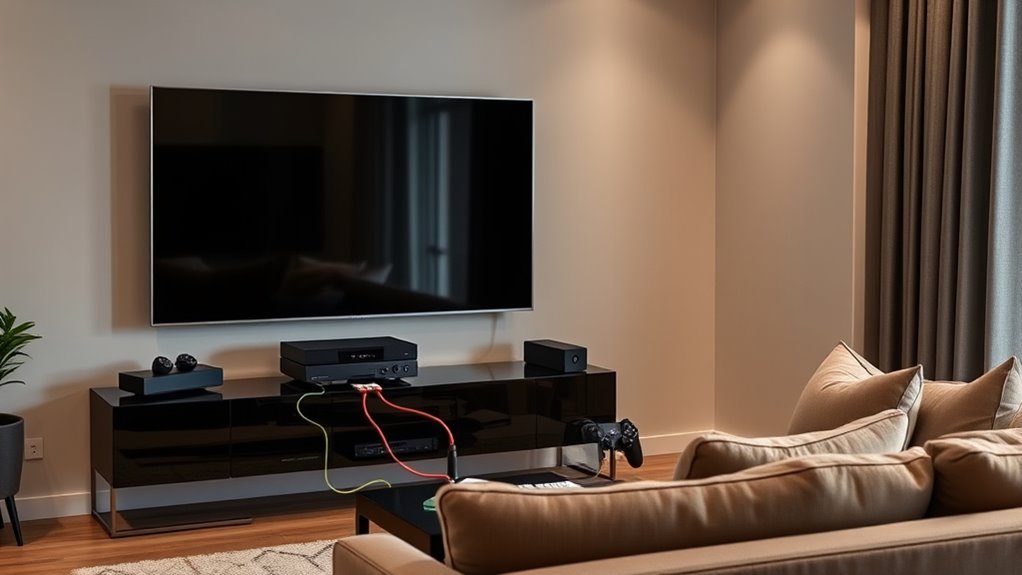
Necessary Cables and Connectors
After deciding on your display options, the next step is to gather the right cables and connectors to guarantee everything connects smoothly. You’ll need a variety of hardware to assure optimal quality and compatibility. Essential items include HDMI cables for high-definition video and audio, optical cables for lossless sound transfer, and HDMI adapters if your devices have different ports. Consider purchasing:
- HDMI cables for connecting your TV and media players
- Optical cables for connecting sound systems
- HDMI adapters for converting ports (e.g., HDMI to VGA)
- Additional connectors for legacy devices or specialty setups
Having the correct cables and adapters prevents signal issues and simplifies setup. Make sure to choose high-quality items to maximize picture and sound clarity, creating a seamless home theater experience.
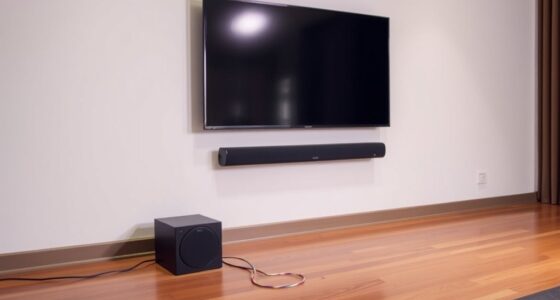
Setting Up Your Display and Audio Components
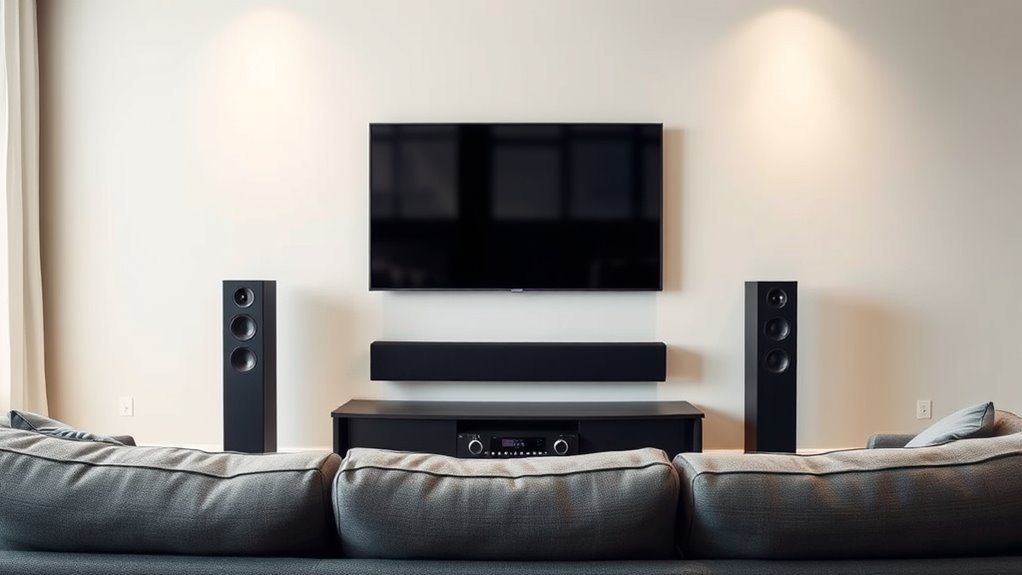
Setting up your display and audio components is a crucial step in creating an immersive home theater experience. Begin by positioning your TV or projector at eye level, ensuring it’s centered for ideal viewing. For the best picture quality, perform screen calibration to adjust brightness, contrast, and color settings. Proper speaker placement is equally important; place front speakers at ear level, equidistant from your seating area, and angle them toward your listening position. Surround speakers should be positioned slightly behind and to the sides of your seating area for a true surround sound effect. Make sure all cables are securely connected and organized to prevent interference. Proper setup of your display and speakers will notably enhance your viewing and listening experience, making your home theater more enjoyable. Incorporating automation technologies can further optimize your system for ease of use and improved performance. Additionally, selecting appropriate speaker placement can significantly improve sound clarity and immersion, especially when combined with smart home integration to control your system effortlessly.
Connecting Devices and Ensuring Compatibility
Before connecting your devices, make sure they’re compatible with your home theater system. Check the input and output options on each component to avoid issues later. Use the correct cables to guarantee a secure connection and peak performance.
Assess Device Compatibility
Are your devices ready to work together seamlessly? Before setting up your home theater, you need to assess device compatibility. Check if your components support the same connection types, like HDMI or optical audio. Confirm that your TV, receiver, and streaming devices can communicate, especially if you want smart home integration.
- Verify supported resolutions and refresh rates for visual harmony
- Ensure your devices have compatible ports and outputs
- Confirm compatibility with your smart home system for automation
- Look for firmware updates to improve device interoperability
Taking these steps helps prevent connection issues and ensures smooth operation. Being thorough now saves you time later and guarantees your home theater functions as a cohesive entertainment hub.
Use Appropriate Cables
Choosing the right cables is essential to guarantee your devices connect properly and function seamlessly. Different cable types, such as HDMI, optical, component, or RCA, serve specific connection standards and purposes. For example, HDMI supports both high-definition video and digital audio, making it ideal for modern devices. Make certain your devices use compatible connection standards to avoid issues like poor image quality or no audio. Check the ports on your devices and select cables that match those ports. Using the correct cables prevents signal loss and ensures peak performance. Remember, not all cables are interchangeable, so invest in quality, appropriate cable types for each connection. This step guarantees your home theater system functions as intended, delivering the best possible audiovisual experience.
Calibrating Your System for Optimal Performance
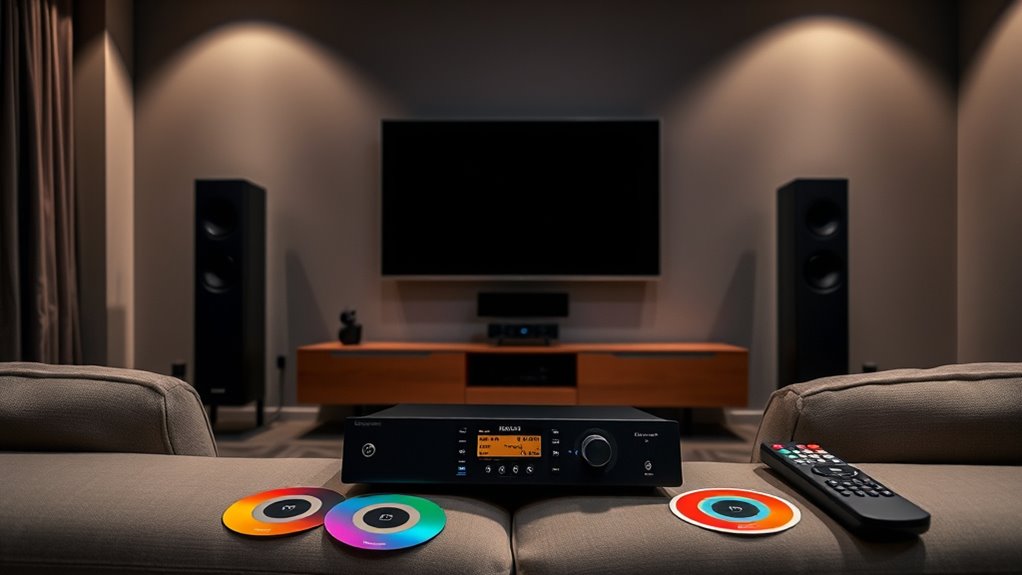
Calibrating your home theater system is essential to guarantee you get the best audio and visual experience. Proper calibration ensures your speaker placement complements your room acoustics, enhancing sound clarity and image quality. Start by adjusting speaker levels and distances for balanced audio. Use calibration tools or settings on your receiver to fine-tune the sound. Focus on these key points:
Calibrate your home theater for optimal sound clarity and image quality.
- Position speakers at ear level and equidistant from listening area
- Minimize sound reflections with rugs, curtains, or acoustic panels
- Set the correct speaker distances in your receiver
- Use test tones or calibration microphones for precise adjustments
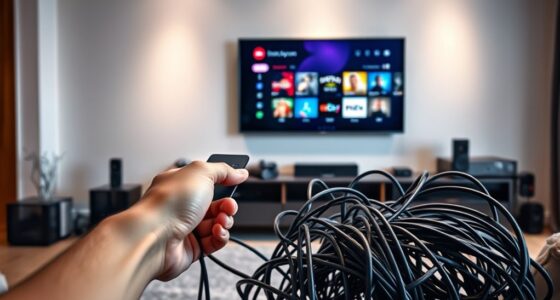
Managing Cables and Organizing Your Setup

To guarantee your home theater setup looks clean and functions smoothly, managing cables and organizing your equipment is essential. Effective cable management prevents tangles, reduces hazards, and creates a sleek appearance. Use organization strategies like cable clips, sleeves, and labeled ties to keep cords tidy and accessible. Proper arrangement minimizes signal interference and makes future adjustments easier. Consider routing cables along walls or behind furniture to hide clutter. Here’s a simple organization strategy:
| Keep Cables Hidden | Use Labels | Regular Checks |
|---|---|---|
| Neat, discreet wiring | Identify cords easily | Ensure everything stays secure |
Testing Your Home Theater and Troubleshooting Common Issues
Have you tested your home theater system to verify everything works as intended? Start by checking speaker placement to ensure sound distributes evenly. Listen closely for audio issues like static or imbalance. If sound feels off, consider acoustic treatment to improve clarity and reduce echoes. Troubleshoot common problems with these steps:
- Verify all connections are secure and cables are undamaged
- Adjust speaker placement if some speakers sound muffled or distant
- Test different audio sources to rule out device-specific issues
- Use calibration tools or settings to optimize sound balance
Identifying and fixing issues early helps you enjoy immersive sound. Proper speaker placement and acoustic treatment are key to achieving the best audio quality, preventing problems before they worsen.
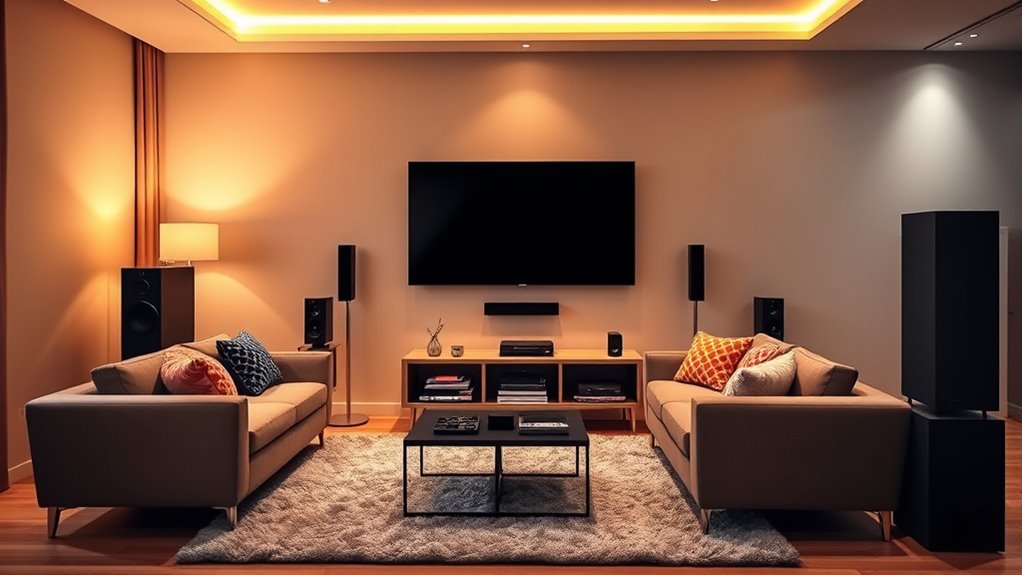
Enhancing Your Experience With Comfort and Ambience

To make your home theater truly immersive, focus on comfort and atmosphere. Choosing cozy seating, adjusting ambient lighting, and soundproofing your room can considerably enhance your experience. These upgrades create a relaxing environment that keeps you engaged in every movie or show.
Comfortable Seating Options
Creating a comfortable seating area is essential for fully enjoying your home theater. Your choice of seats affects both comfort and immersion. Consider options like reclining chairs for adjustable support, plush sofas for lounging, or a mix of both to suit your space. Think about the arrangement to maximize viewing angles and ensure everyone has a good seat. Adding cushions or throws can boost comfort and set a cozy vibe. Make sure your seats are at a good distance from the screen to reduce eye strain. Prioritize comfort without sacrificing style, and choose furniture that complements your room’s décor. Whether you prefer the luxury of plush sofas or the adjustable convenience of reclining chairs, your seating should invite relaxation and enhance your movie nights.
Ambient Lighting Choices
Ambient lighting plays a crucial role in setting the mood and enhancing your home theater experience. Good lighting design creates a comfortable environment that minimizes glare and eye strain while adding to the overall atmosphere. Consider using dimmable lights so you can easily adjust the brightness during different scenes. Soft, warm color schemes like amber or amber-tinted LEDs promote relaxation and reduce contrast with your screen, making viewing more enjoyable. Avoid harsh overhead lights that can cause reflections or distract from the picture. Instead, opt for indirect lighting, such as wall sconces or LED strips behind furniture, to add subtle illumination. Proper ambient lighting helps you feel immersed without overpowering your view, setting the perfect tone for movie nights.
Soundproofing Techniques
Soundproofing is essential for transforming your home theater into an immersive oasis by reducing unwanted noise and preventing sound from escaping to other areas. To achieve effective acoustic treatment, you should consider various soundproofing techniques. Start by sealing gaps around doors and windows with weatherstripping or door sweeps to block noise leaks. Adding mass-loaded vinyl or soundproof curtains can further dampen sound transmission. Installing acoustic panels on walls helps absorb echoes and improve sound clarity. Finally, consider using carpeting or thick rugs to reduce floor noise. These simple steps create a quieter environment, enhancing your viewing experience. With proper acoustic treatment, you’ll enjoy richer sound quality and minimal disturbances, making your home theater more comfortable and immersive.
Frequently Asked Questions
How Can I Improve Soundproofing in My Home Theater?
To improve soundproofing in your home theater, start by sealing gaps around doors and windows with weatherstripping or door sweeps. Use soundproofing techniques like adding mass-loaded vinyl or drywall to walls, and install acoustic treatments such as foam panels or bass traps to absorb sound. These steps help reduce noise leakage, ensuring better sound quality inside your theater and less disturbance outside.
What Are the Best Lighting Options for a Cinematic Experience?
Imagine transforming your room into a cinematic haven—ambient lighting and LED strips make it happen. You can install dimmable lights that pulse with the movie’s mood, creating an immersive atmosphere. LED strips along walls or behind your screen add a warm glow, reducing eye strain and elevating every scene. With the right lighting, you’ll feel like you’re part of the action, making every viewing unforgettable.
How Do I Update My System for 4K or HDR Content?
To update your system for 4K or HDR content, start by upgrading your display to support 4K and HDR. Then, perform audio calibration to optimize sound quality and display calibration to guarantee vibrant colors and contrast. Make sure your source devices and HDMI cables are compatible with 4K and HDR signals. Finally, update your media players and streaming apps to access the latest 4K and HDR content seamlessly.
What Safety Precautions Should I Consider During Setup?
During setup, prioritize electrical safety by unplugging devices before wiring and avoiding overloading outlets. Use cable management tools to keep cords organized and prevent tripping hazards. Make certain all connections are secure and avoid exposed wires. Keep liquids away from equipment to prevent damage. Regularly inspect cables for damage, and follow manufacturer instructions for safe installation. Taking these precautions helps protect you and your equipment while creating a safe home theater environment.
How Can I Integrate Smart Home Technology With My Theater System?
You can easily integrate smart home technology with your theater system by connecting compatible devices. Use voice control to operate your smart lighting and audio equipment hands-free, creating a seamless experience. Connect smart speakers or hubs to control everything effortlessly. Make sure your smart lighting syncs with your entertainment for immersive effects. With these integrations, you’ll enjoy convenient, intuitive control of your home theater setup, enhancing your overall entertainment experience.
Conclusion
Now that your home theater is set up, you’ve created a cozy haven where movies come alive and sound surrounds you like a warm embrace. With your space transformed into a personal cinema, every night becomes an adventure, a symphony of sights and sounds tailored just for you. So sit back, press play, and let your new setup whisk you away into worlds of entertainment, turning your home into the ultimate escape — all at your fingertips.